Welding Hoods vs Welding Helmets: What’s the Difference & Why It Matters
If you’ve ever shopped for welding gear or talked with experienced welders, you’ve probably heard both terms: welding hood and welding helmet. At first, they
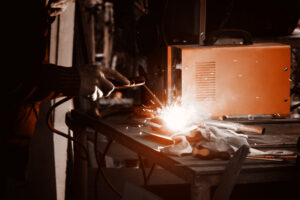
A solid welding table is one of the most important investments you’ll make in your welding setup — whether you’re working in a garage, a school lab, or a full-blown fabrication shop. It’s your work surface, your anchor point, and in many ways, your foundation for precision.
But a welding table is only as good as the visibility around it. If you can’t clearly see your layout, joints, or weld pool, even the best table won’t save you from mistakes. In this guide, we’ll walk through what to look for in a welding table and how to properly light your workspace for better safety, accuracy, and efficiency.
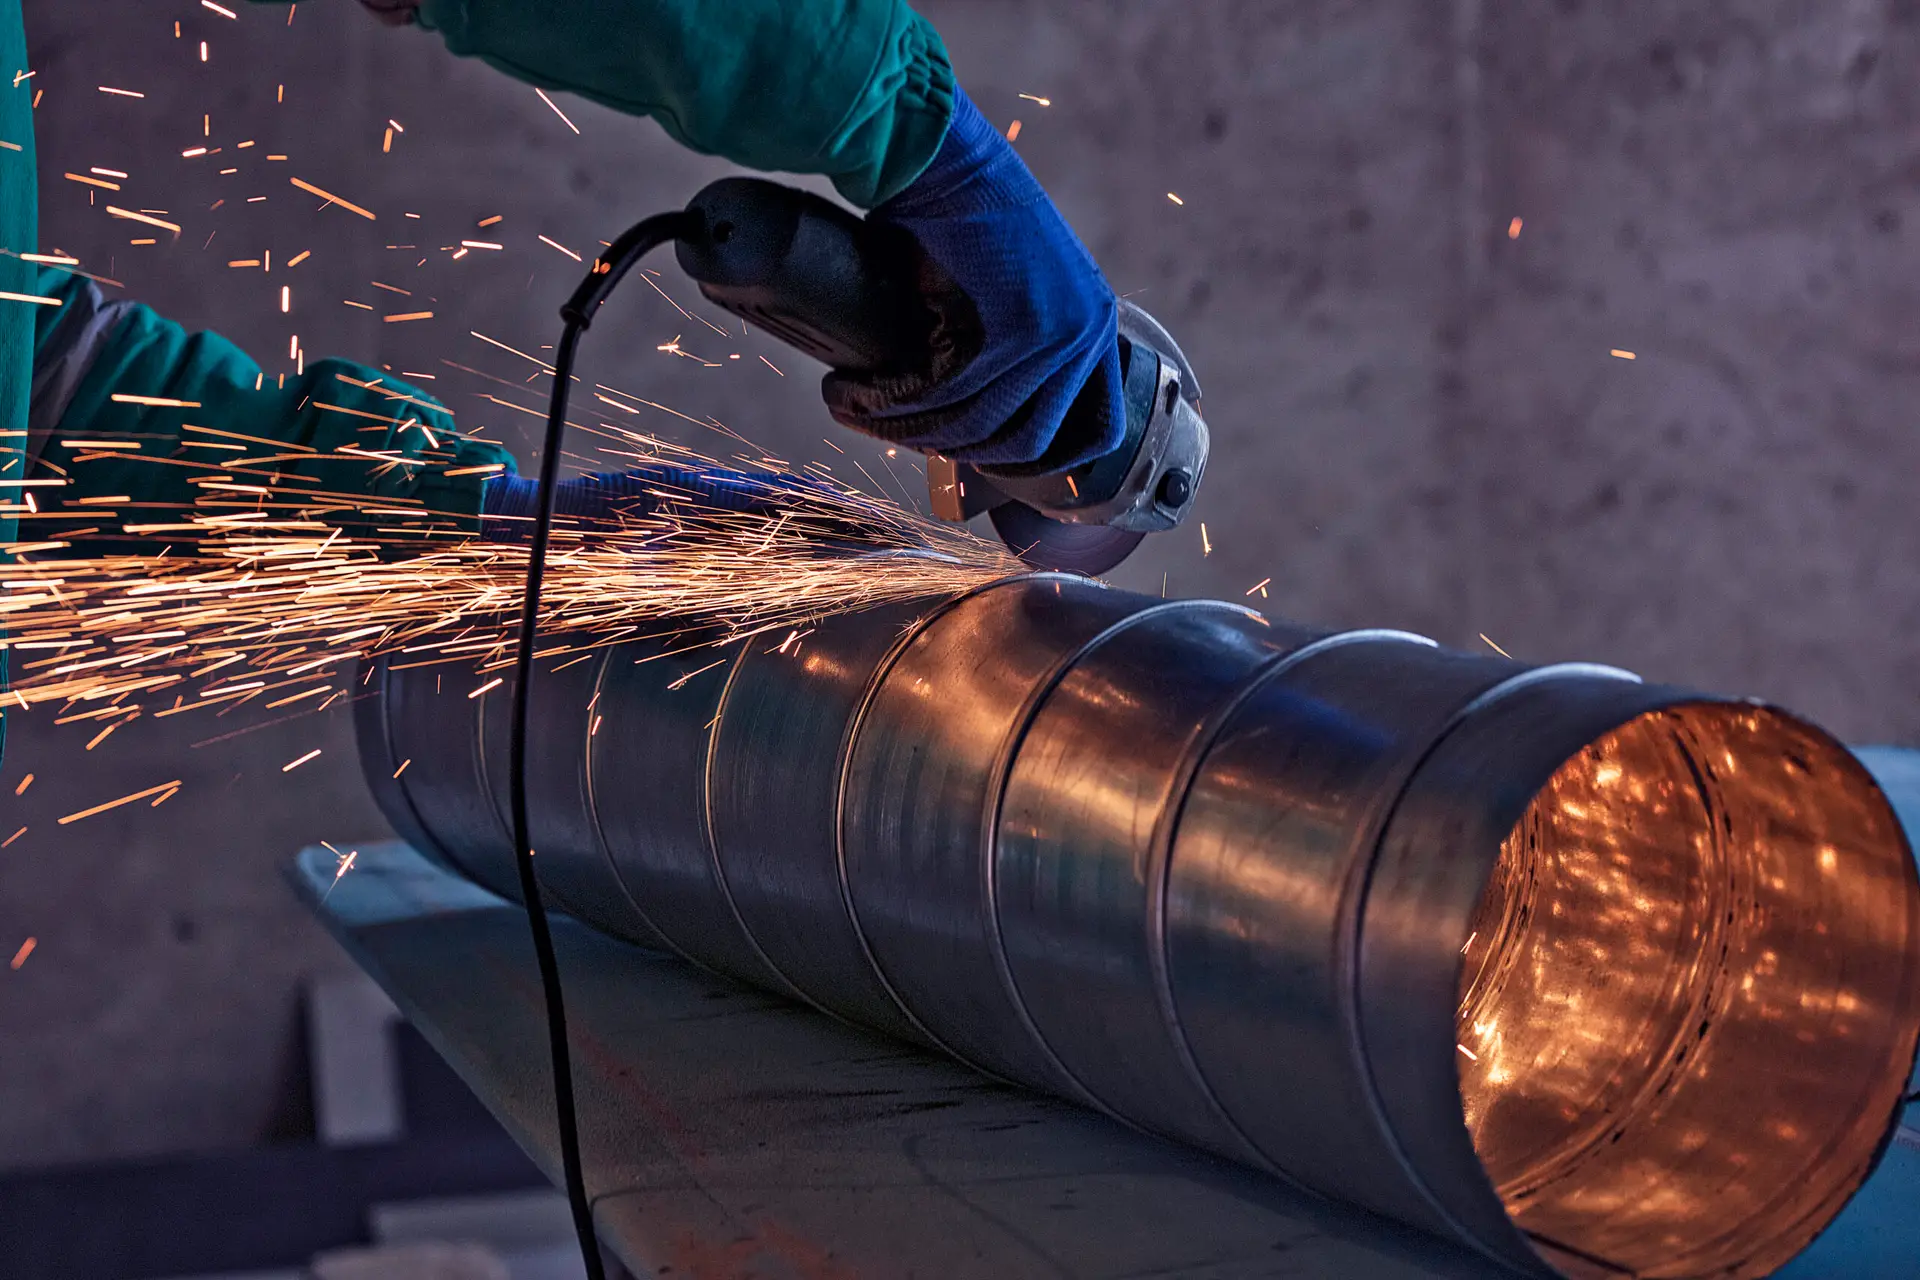
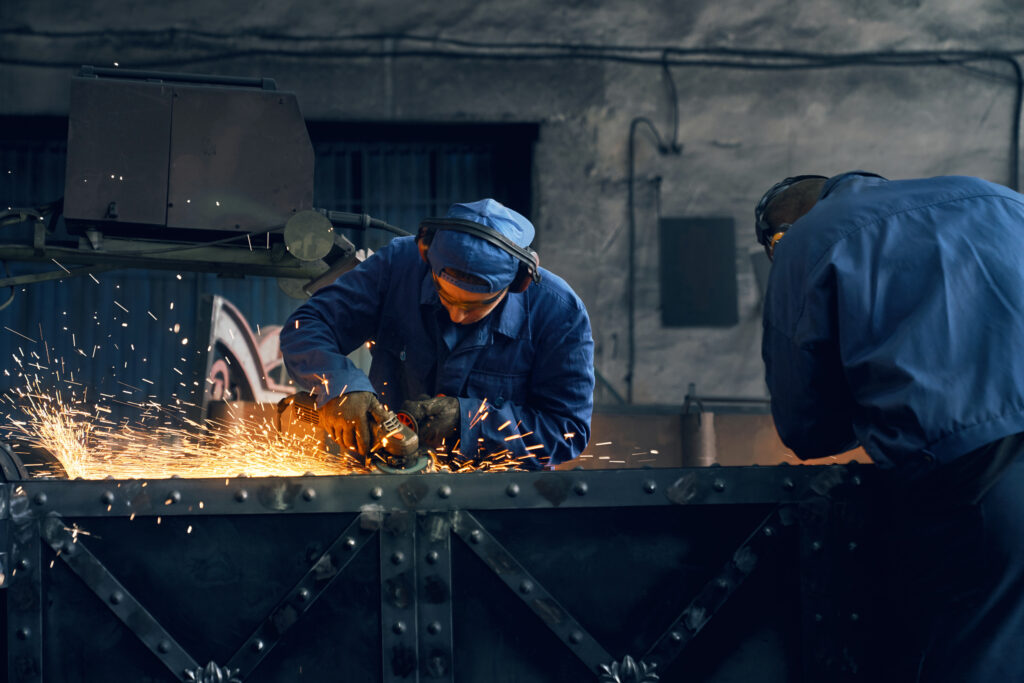
1. What Makes a Welding Table Different from a Regular Workbench: A welding table isn’t just a flat surface — it’s specifically engineered to handle heat, sparks, and heavy materials. Most are made from thick steel to withstand high temperatures without warping or catching fire. The surface needs to be flat, stable, and conductive, which is especially useful if you’re grounding your workpiece through the table itself. Many welding tables also come with built-in features like slotted tops, adjustable legs, grounding points, or even rotary surfaces. These features aren’t just fancy extras — they help you position your parts correctly, clamp them down securely, and work more efficiently.
2. Size, Weight, and Adjustability: Finding the Right Fit for Your Space: Before buying or building a welding table, consider how much space you really need. A compact table might be fine for small TIG jobs or hobby welding, but if you’re regularly welding frames, gates, or larger assemblies, you’ll want something wider and sturdier. Pay attention to the height of the table as well. A comfortable working height reduces fatigue and strain. Some welders prefer adjustable-height tables so they can switch between standing and sitting positions. If your shop is small, wheels or a folding design may help with mobility and storage, but make sure they lock securely in place to keep the table stable during work.
3. Clamping and Fixture Compatibility: Endurance cycling is as much a mental challenge as it is a physical one. Strengthening your mental resilience can make a significant difference. Break your long ride into manageable segments and set small, achievable goals for each segment. This approach makes the overall distance feel less daunting. Also, spend time visualizing your ride, imagining the route, the challenges you might face, and how you’ll overcome them. Positive visualization can boost confidence and reduce anxiety. Finally, accept that discomfort is part of long-distance cycling. Develop strategies to cope, such as deep breathing, adjusting your pace, or thinking of rewarding moments like scenic views or post-ride treats.
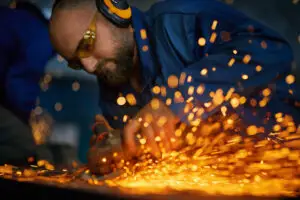
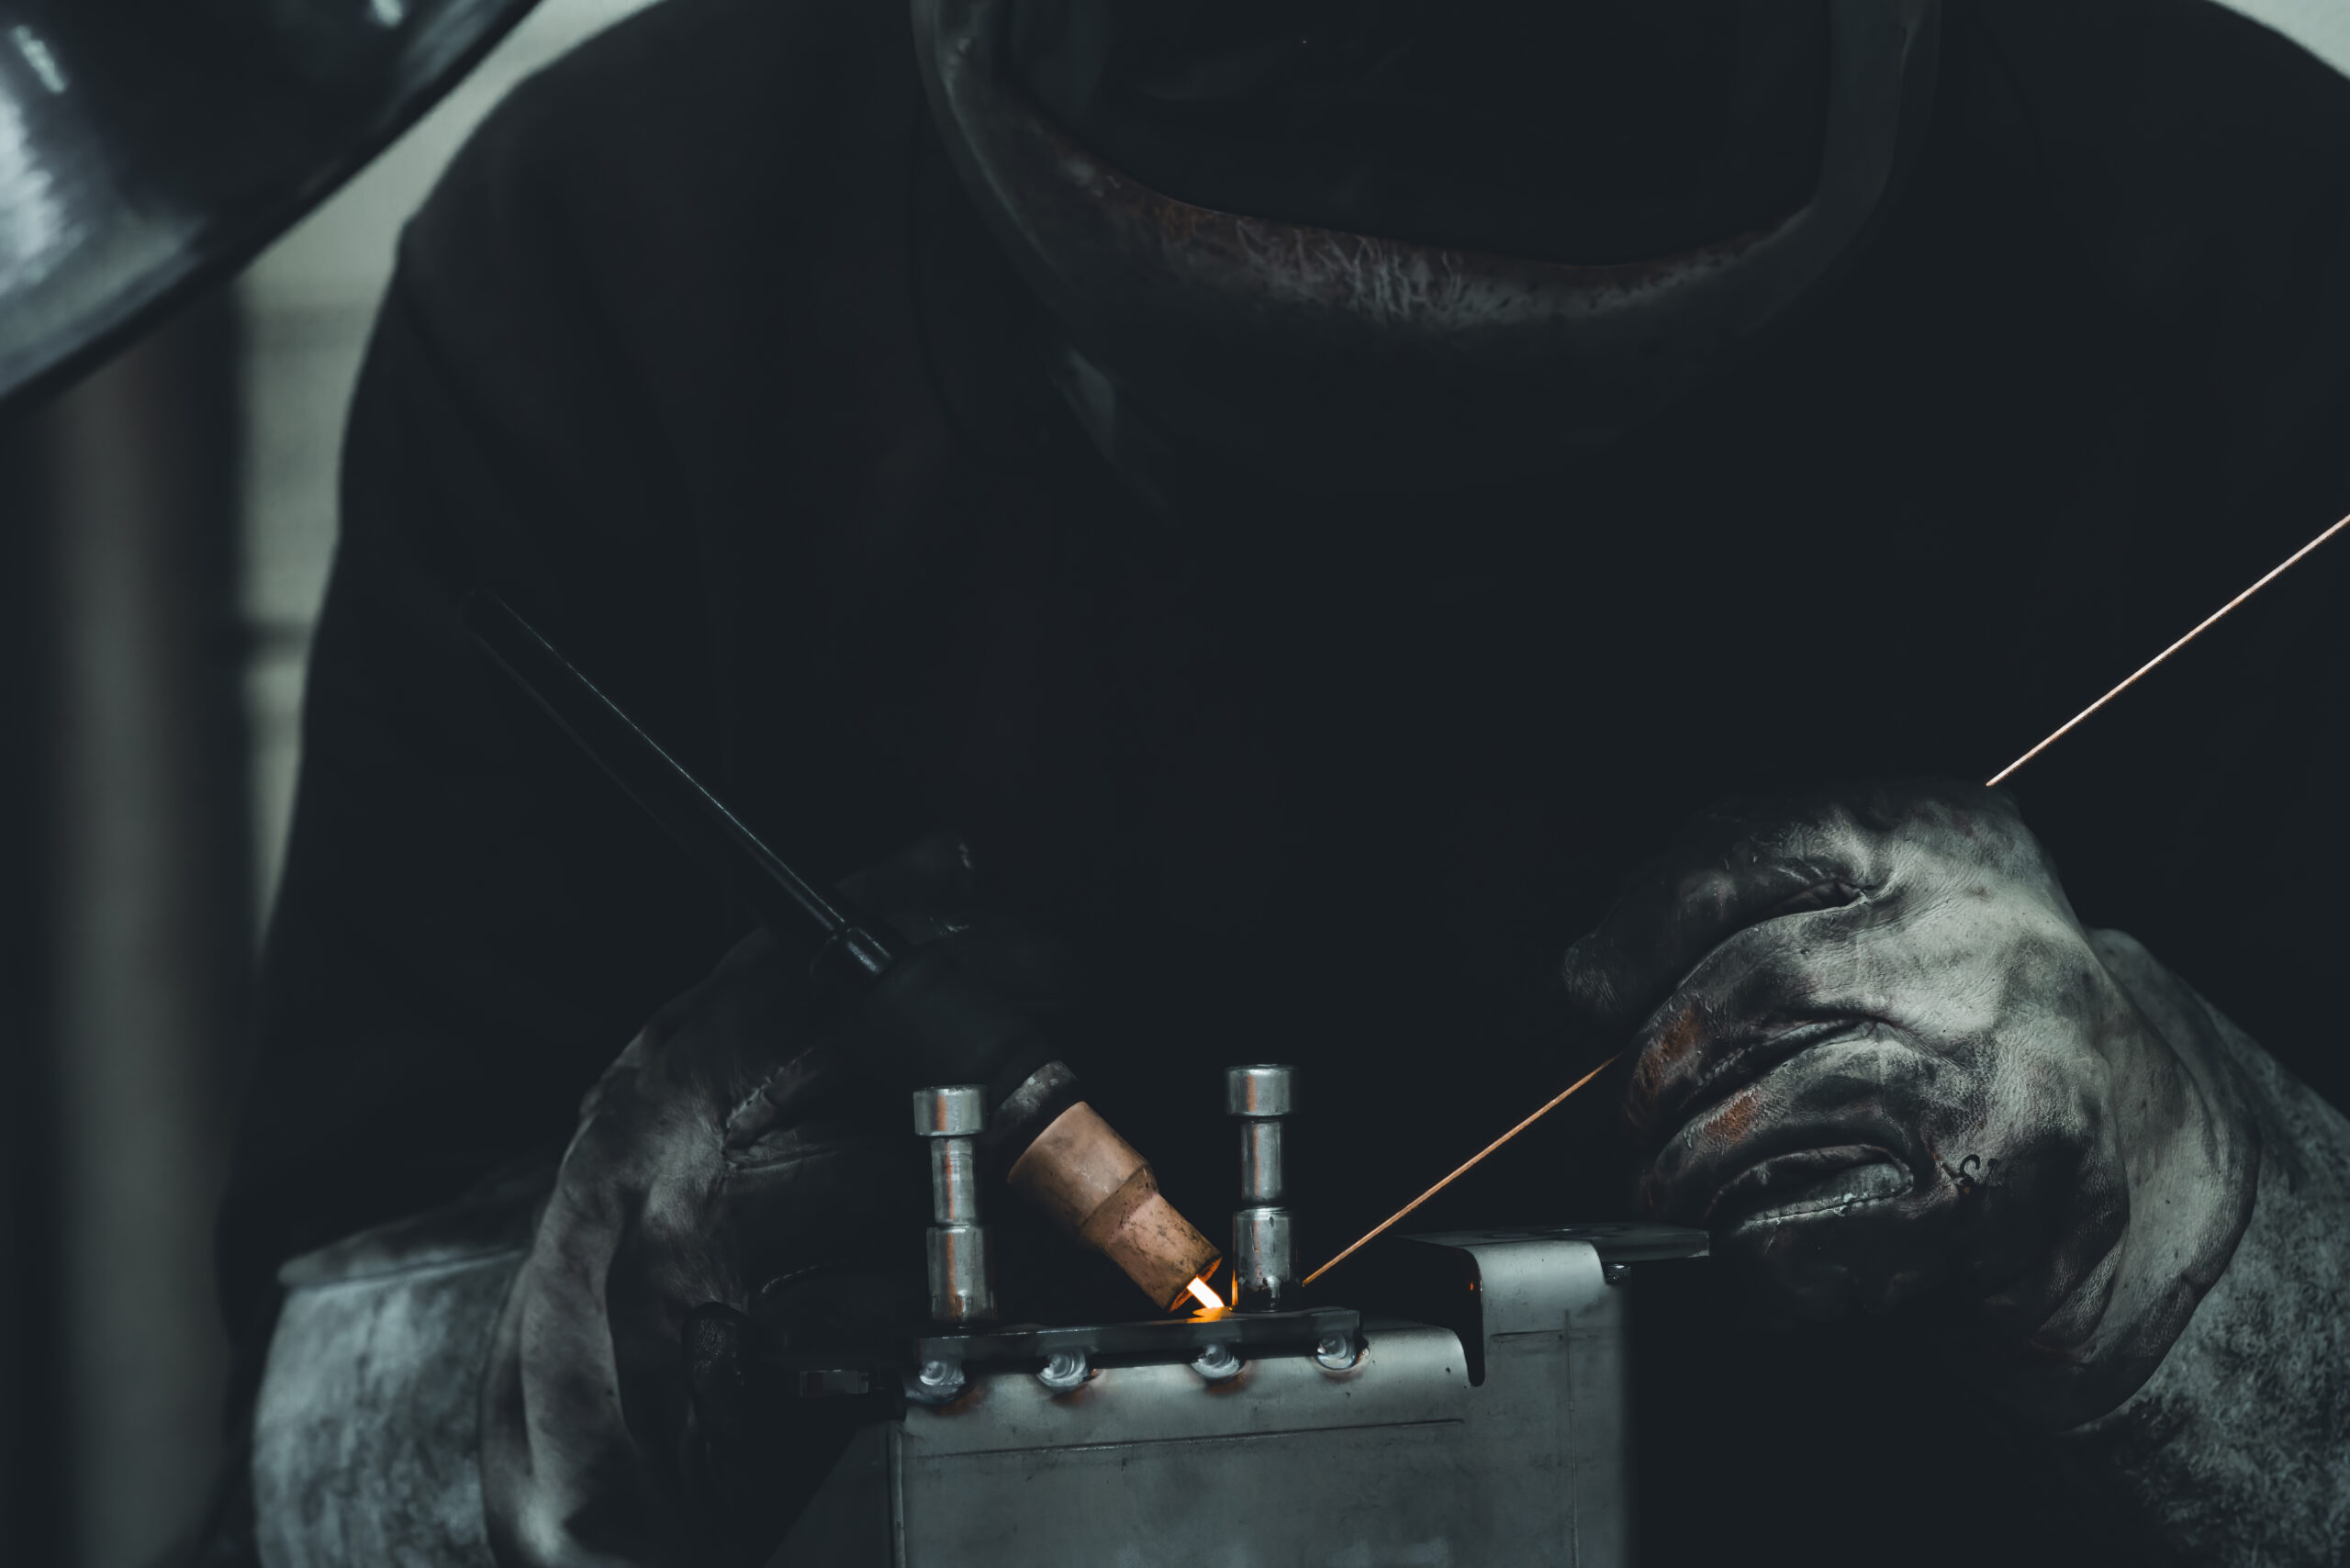
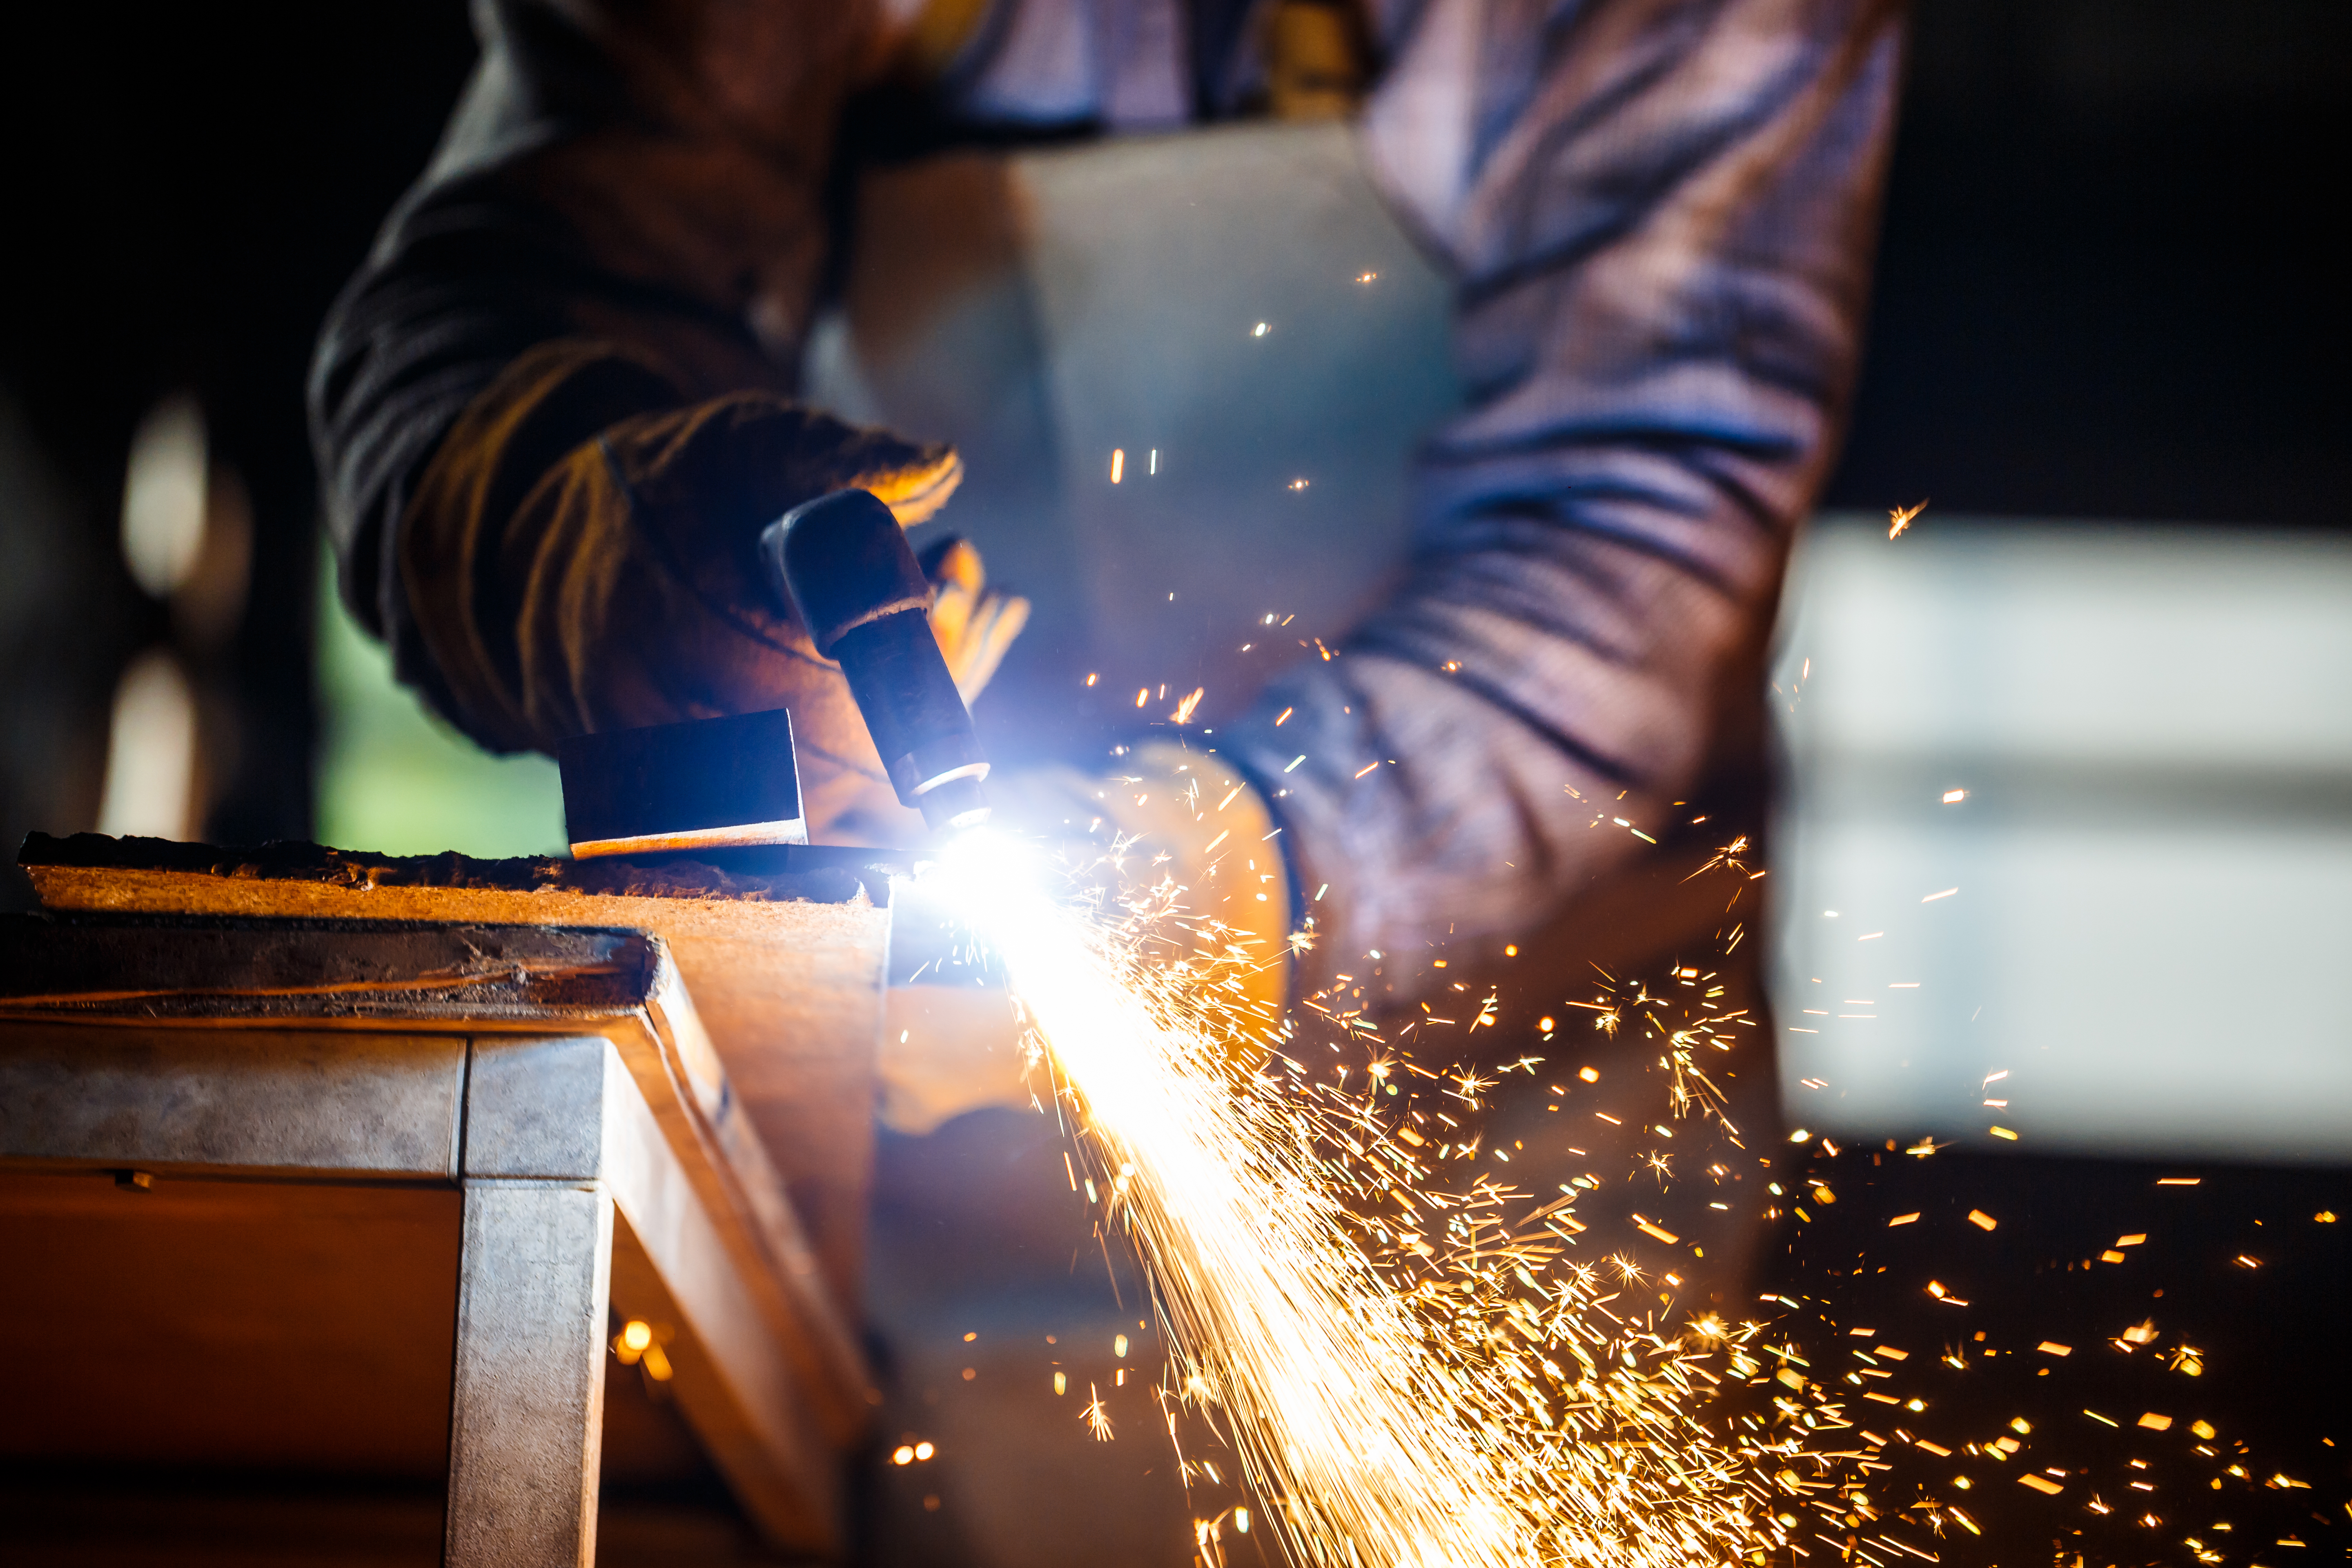
4. Lighting (The Missing Piece in Most Welding Setups): Even if you have a great welding table, your work will suffer if you can’t see it clearly. Overhead shop lights often cast shadows, and daylight isn’t always reliable, especially in enclosed spaces or during night shifts. Poor lighting leads to misaligned joints, uneven welds, and more rework. That’s why many pros use helmet-mounted lights to bring focused illumination right where it’s needed — on the weld itself. A compact, rechargeable light like the Greerride Welding Helmet Light allows you to work in tight or dim conditions with both hands free. It’s especially useful when working under a welding hood, where even a bright shop light can’t reach. The right lighting also helps during layout and prep work. Marking lines, checking angles, and identifying material defects all require clear visibility — and that’s hard to achieve without directional, close-up light.
5. Safety and Maintenance Tips for Your Welding Table: Once you’ve got your table and lighting dialed in, make sure to maintain it. Clean the surface regularly to remove slag, spatter, and metal dust that can interfere with grounding or alignment. Use a wire brush or grinder to keep the surface smooth and conductive. Never weld directly over flammable materials like paper, wood, or cloth. Keep your table clear of clutter, especially when using grinders or plasma cutters. And always ensure your lighting equipment — whether overhead or helmet-mounted — is secure and rated for workshop conditions.
Training for a long-distance cycling event requires dedication, discipline, and a comprehensive approach. By following these five points, you’ll be well on your way to conquering your next cycling challenge with strength and confidence. Happy riding!

If you’ve ever shopped for welding gear or talked with experienced welders, you’ve probably heard both terms: welding hood and welding helmet. At first, they
Step inside any welding shop—whether it’s a training lab, a home garage, or a commercial fabrication space—and you’ll find a carefully designed environment built for
Graduating from welding school is a big milestone — but stepping onto a jobsite is a whole new level. Whether you’re headed into construction, fabrication,